How To Install Wazuh SIEM: Easy All-in-One Guide

Are you looking to boost your organization’s security with a powerful, open-source solution? Or maybe you are just playing around with your homelab and looking to set up a free open source SIEM to detect what is really going on at your network. If that is the case, Wazuh SIEM might be exactly what you need. In this guide, I’ll walk you how to install Wazuh SIEM, so you can quickly start observing what is going on in your IT environment.
What is Wazuh SIEM?
Before jumping into the installation, let’s cover what Wazuh SIEM is and why it’s so popular in the security community.
Wazuh is an open-source Security Information and Event Management (SIEM) platform that integrates intrusion detection, log analysis, and endpoint security into one comprehensive solution. It’s designed to collect security data from various sources, including firewalls, servers, and endpoints, then analyze and correlate that data to identify potential threats. Wazuh’s key features include real-time alerting, file integrity monitoring, vulnerability detection, and more.
Wazuh also has a bunch of build in and predefined rules, which means its pretty much plug and play. With Wazuh you simply get all the same features as in any other SIEM, just without breaking the bank. Wazuh is therefore ideal for cyber security enthusiasts, or small companies that might not have a huge budget to spend on cybersecurity.
Installation of Wazuh SIEM
Now that you know what Wazuh SIEM offers, let’s dive into the installation. The good news? Wazuh makes it super easy to get up and running, thanks to their quickstart script, which automates the entire setup process. This script installs Wazuh’s main components, including Wazuh server, the Wazuh indexer, and the Wazuh dashboard, all on a single server.
Here’s how you can get it installed on your machine in no time.
Prerequisites
Before we start, make sure you meet the following requirements:
- Operating System: Wazuh supports Linux-based systems like Ubuntu 16.04 or later (we’ll use Ubuntu in this example).
- Root or Sudo Privileges: You’ll need administrative rights to run the installation commands.
- Hardware: At least 4 vCPUs, 8GB RAM, and 50GB of disk space is recommended, depending on your environment size.
The table below illustrates the recommended hardware requirements.

Once these are ready, you’re good to go!
Step 1: Update Your Server
Before installing anything, it’s always a good idea to ensure your server is up-to-date. Run the following command to update your system’s packages:
sudo apt-get update && sudo apt-get upgrade -y
This will make sure everything is current and ready for Wazuh’s installation.
Step 2: Install Wazuh SIEM Using the Quickstart Script
Now comes the fun part – the actual installation. Wazuh provides an all-in-one installation script that takes care of everything for you. You don’t need to manually configure individual components; just run a single command, sit back, and let the script do the heavy lifting.
To download and execute the Wazuh installation script, run the following:
curl -sO https://packages.wazuh.com/4.9/wazuh-install.sh && sudo bash ./wazuh-install.sh -a
Note that the script can be quite slow for some components especially the wazuh-dashboard. It took me about 30 minutes to download all the components. So, if it looks like the script has gone stuck, just give it some more time.
Note: Wazuh will be installed on port 443. If you are already using that port for something else, like a webserver or similar, the installation script will fail. To fix this you can just include the -p option in the quickstart script to install on another port. Other common ports used for secure web traffic are 8443 and 9443.
So, just add -p 8443 add at the end of the installation script to change the port number.
Once the installation script is complete, you should see something similar to this:
INFO: --- Summary ---
INFO: You can access the web interface https://<wazuh-dashboard-ip>
    User: admin
    Password: <ADMIN_PASSWORD>
INFO: Installation finished.
Its a good idea to keep a note of your password, but otherwise it can be found in this file if you forget:
sudo cat wazuh-install-files/wazuh-passwords.txtStep 3: Access the Wazuh Dashboard
Once the installation completes, the Wazuh Dashboard will be ready for use. This is where you’ll monitor your security events and manage your Wazuh environment.
To access the Wazuh web interface, open your web browser and navigate to:
https://<wazuh-dashboard-ip>:<port_number>Since we have made an All-in-One installation, the ip will most likely be localhost and the port 443 or 8443 depending on if you changed the port or not.
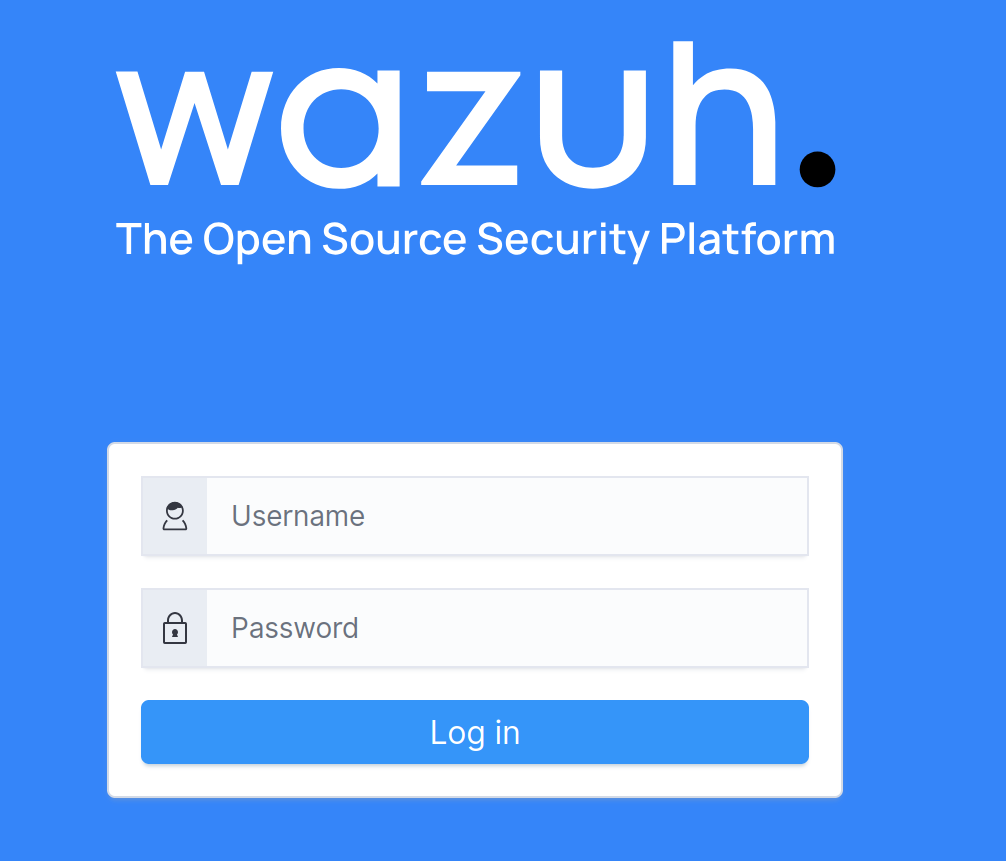
You should see the login screen as in the image below.

Great! You have successfully installed Wazuh.
Step 4: Play Around with Wazuh
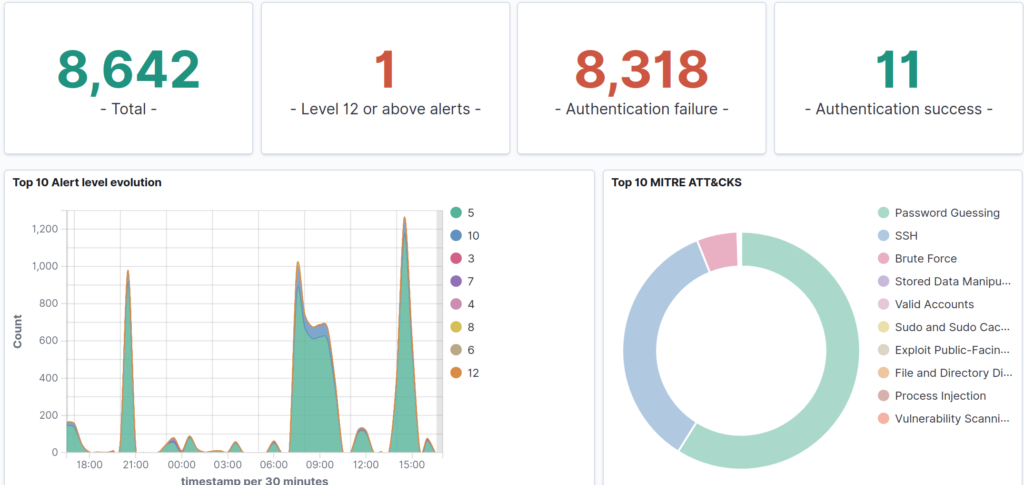
Once logged in, you’ll be greeted by the Wazuh interface. From here, you can start visualizing your security data, configure dashboards, add agents and explore the different data sources feeding into your SIEM.
After some time you should begin to see alerts and data in your dashboard.

Conclusion
Congratulations! By following this guide, you’ve successfully installed Wazuh SIEM on your server using the quickstart script. Now, you have a powerful security platform at your fingertips to monitor, analyze, and respond to security events in real-time. Whether you’re managing a small network or a large enterprise, Wazuh SIEM can scale with your needs, providing valuable insights into your infrastructure’s security.


