How to Set Up Homelab to Practice Penetration Testing
Looking to dive into the world of cybersecurity and sharpen your penetration testing skills? Whether you’re aiming to become a skilled expert or just want to get hands-on experience, this step-by-step guide will walk you through setting up your own penetration testing homelab. In this tutorial, we’ll guide you through the entire process, from configuring your lab environment to practicing real-world penetration testing techniques.
There are several ways to set up your penetration testing homelab, and you can customize it to fit your needs. In this tutorial, we’ll walk you through how to set up a lab using a dedicated physical machine. If you want to set up a lab using virtual machines instead, feel free to follow that tutorial instead.
For this tutorial we are going to install the LAMP stack (Linux, Apache, MySQL and PHP) for our home lab. Alright, lets dive into it!
Install Ubuntu Linux on an Old Machine
If you have an old PC or Mac that’s past its prime, this is a perfect chance to repurpose it as the core of your homelab. Setting up your penetration testing lab on a dedicated machine is an excellent choice, as it gives you complete control over the configuration from the start. This method is definitely the one we’d recommend, however, if you’re looking for a simpler approach that doesn’t require additional hardware, feel free to check out this article instead, where we’ll guide you through setting up your homelab using virtual machines.
1. Prepare Your Hardware: What You’ll Need
- A laptop or PC with at least 25GB of storage space and 4GB RAM
- A bootable Flash Drive (USB stick) with preferably 12GB or above
2. Installation of Ubuntu and Removing Windows
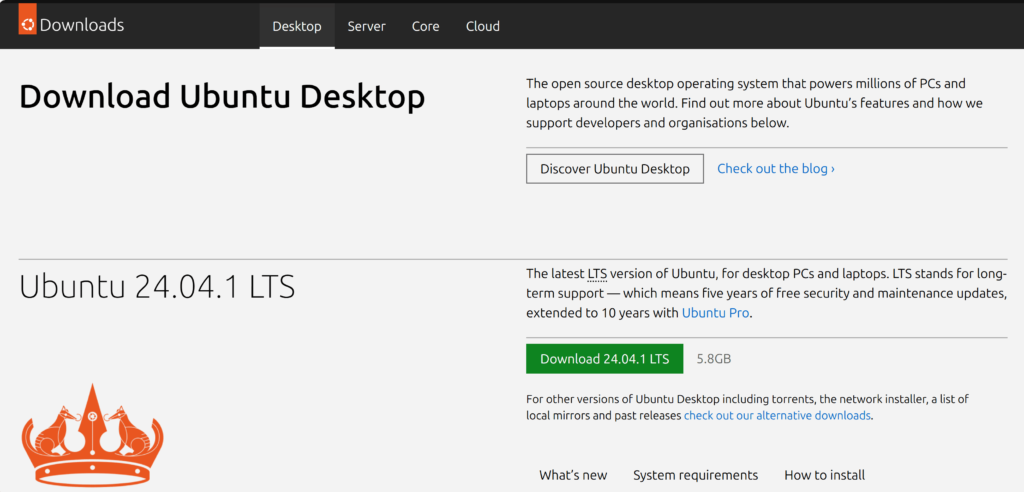
Download the ISO image of your preferred Linux distribution. We suggest Ubuntu as you can then manually install the penetration tools that you need for your setup.
You can download the Ubuntu image here.
Create a Bootable USB Flash Drive
We need to convert the downloaded ISO image into a bootable USB drive that can be used when we boot up our computer later. For this we need some software. We will use Balena Etcher as it runs on both Windows, Linux and Mac. Go ahead and download BalenaEtcher.
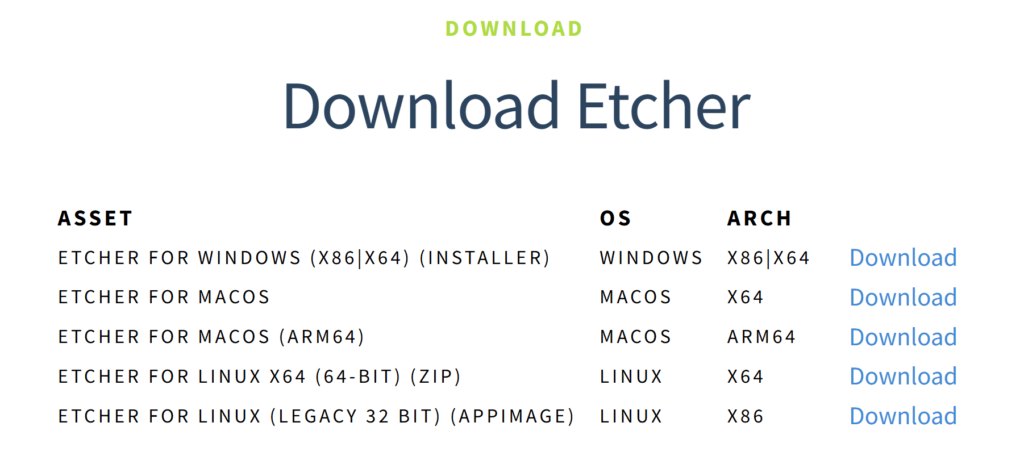
Click Download Etcher.

Select your operating system. I am installing Balena on a Windows machine, so I select the Etcher For Windows (X86|X64) (Installer).
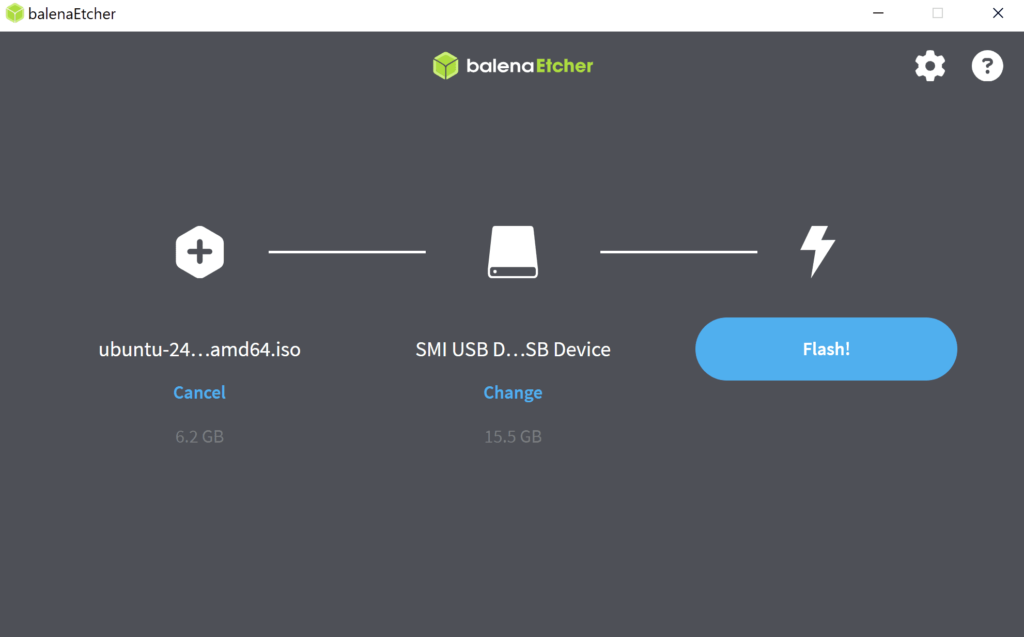
Once Balena is installed, upload the iso file, next select the flash drive and finally click flash now.
Warning! When creating a bootable disk, any existing data on the USB drive will be erased. If you have files on the drive that you want to keep, make sure to back them up before proceeding. Additionally, once the USB drive is converted into a bootable disk, it can no longer be used for regular file storage.
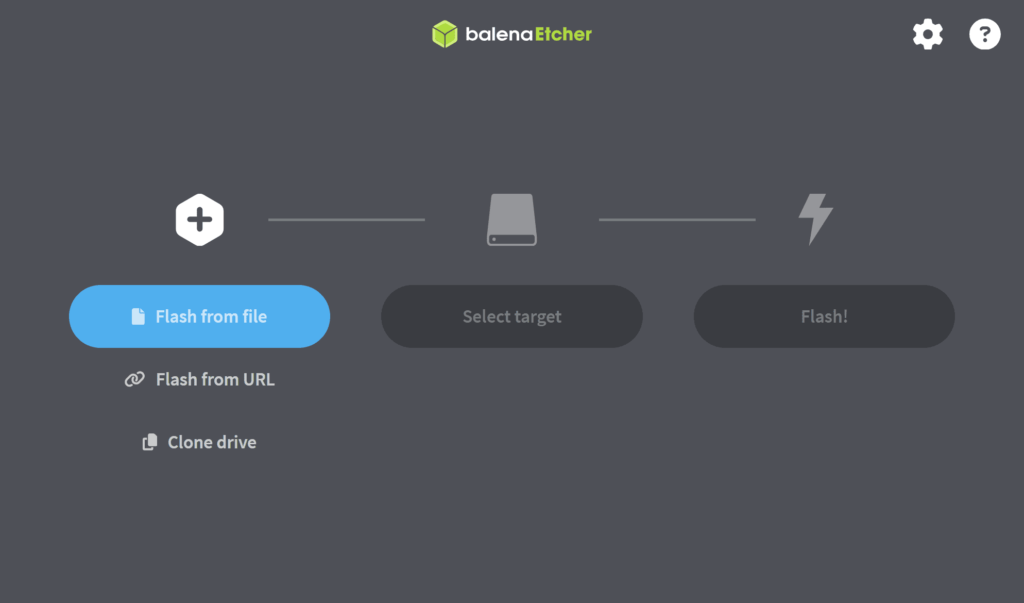
It should look similar to this. Press, flash!
Troubleshooting:
I have previously experienced that I received an error message saying the flash failed, but it did however still manage boot up correctly. So in case you receive a similar error, try to continue with this guide and see if it still works. If not, feel free to contact me and I’ll see if I can help you out.
Disable Secure Boot in BIOS Settings
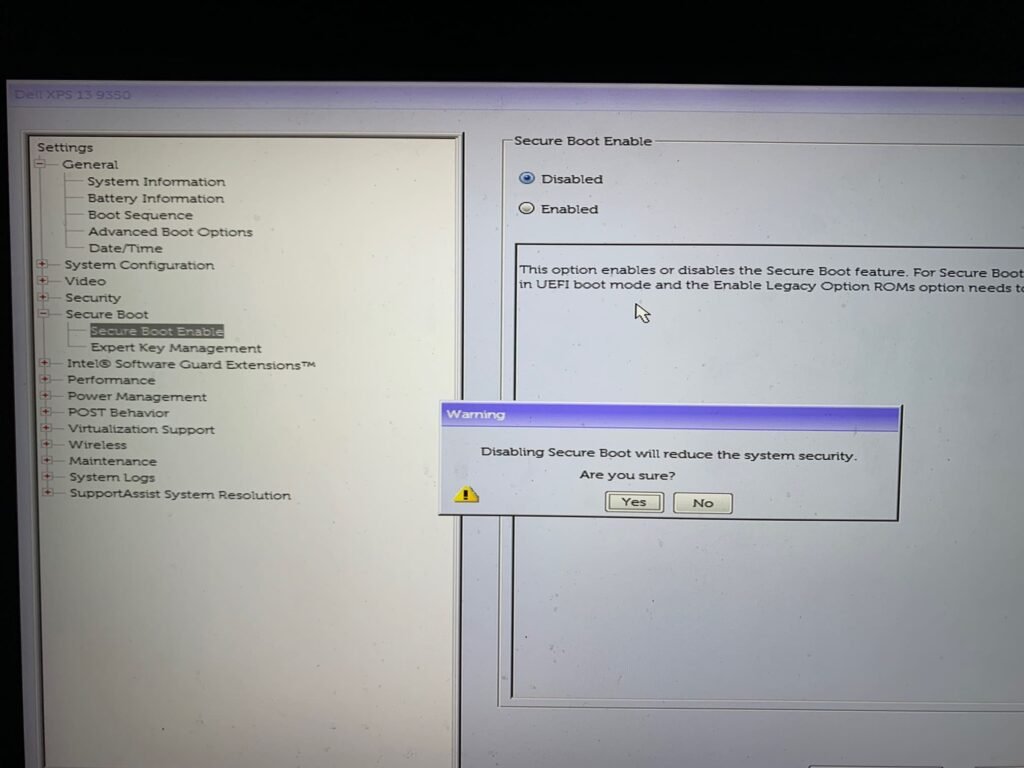
In order to be able to boot our USB flash drive, we need to disable the secure boot option in the BIOS settings. This is done differently for different manufacturers but is most often done by pressing the F2 or F10 key during startup. If you are unsure which one you have, just google “How to boot your computer name into bios”.
Now, shut down the computer and wait 5 seconds. Turn on the computer, and once you see the computer logo appear (E.G Dell, Lenovo etc.), immediately press and hold F2 (or the button for your PC).
Locate the Secure Boot Enable section and choose disabled. Apply the change, and shut down the computer once again.
Boot from USB Flash Drive
Now, in order to boot the USB flash drive, we must first access the boot menu, which again requires finding the right key to press. I have listed the keys for some common manufacturers, but otherwise just google “How to access the boot menu on your computer name”.
- Dell: F12
- HP: F9
- Lenovo: F12
- Acer: F12
- ASUS: Esc or F2
- Samsung: F2, F4 or F12
- Sony: F11
Now, start your computer and once you see the start up logo, immediately press and hold the corresponding key (E.G. F12 for Dell). Select the USB disk partition as the boot device.
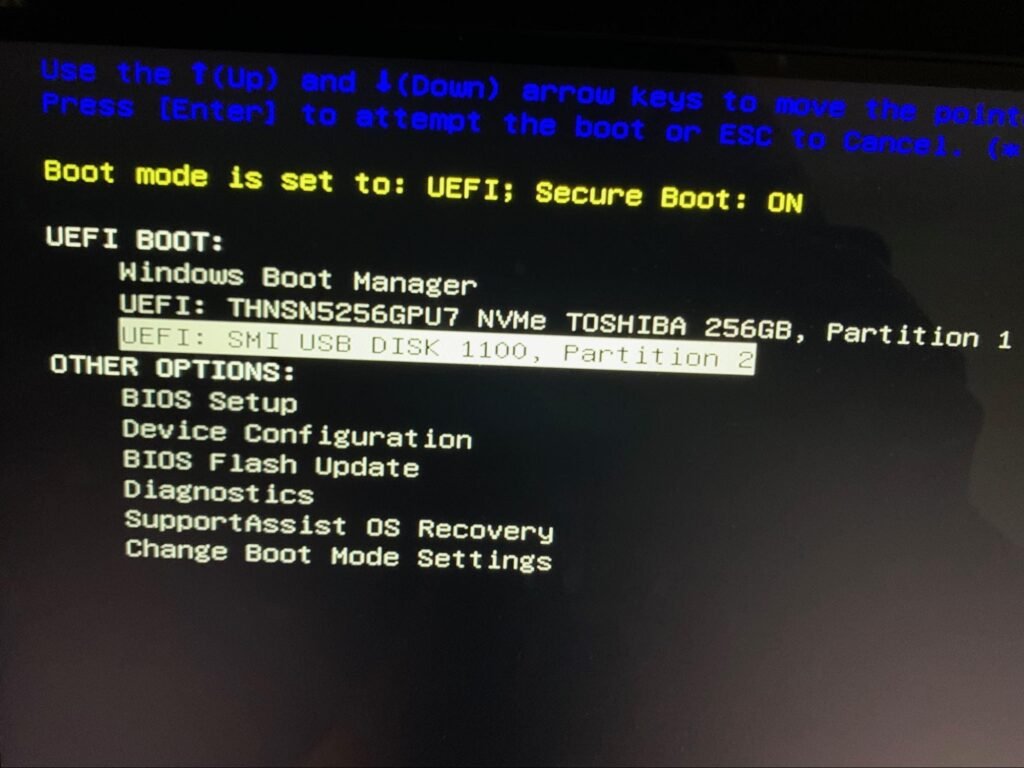
Your computer will now boot into Ubuntu. Click the “Try or Install Ubuntu” option.

Ubuntu installation process
Go through the installation process of setting up Ubuntu.
Choose your language.
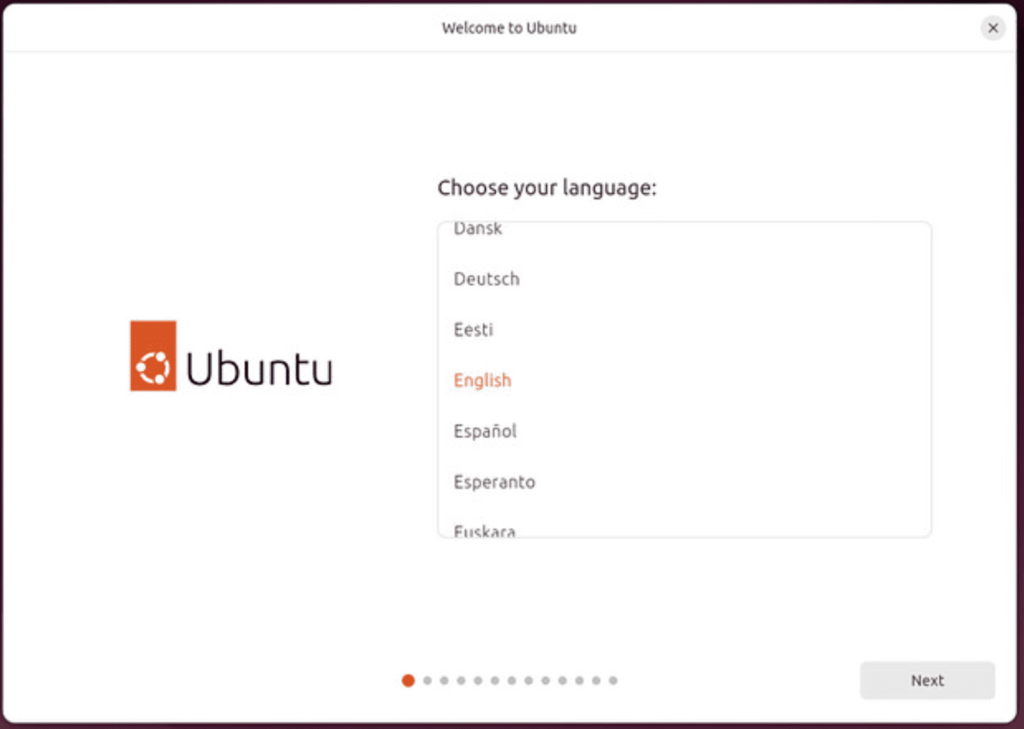
Select any accessibility settings that you require, otherwise click skip.
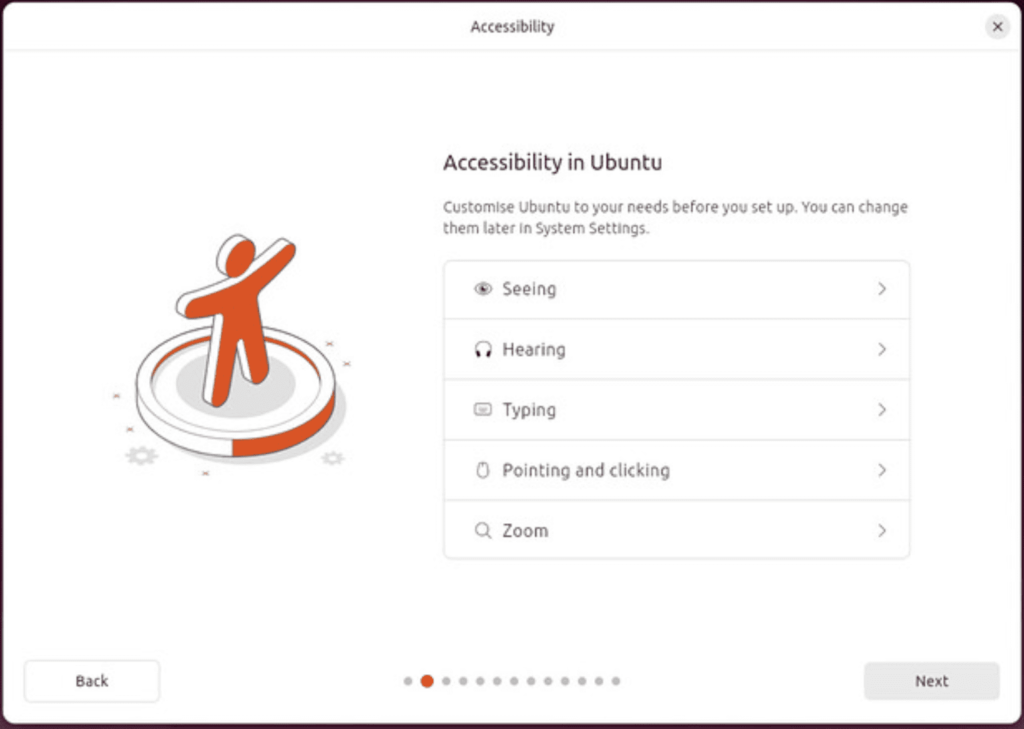
Choose Keyboard layout.

Connect to the internet.

Now you can choose to try out Ubuntu or Install ubuntu. Choose Install Ubuntu as we would like to install it on our machine.
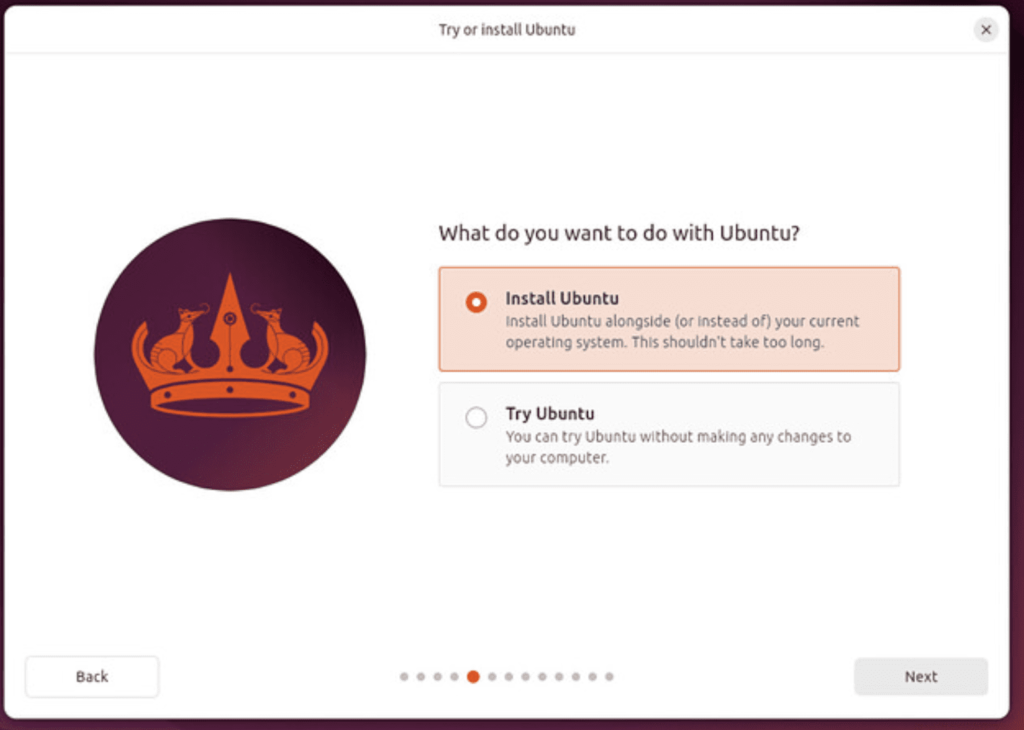
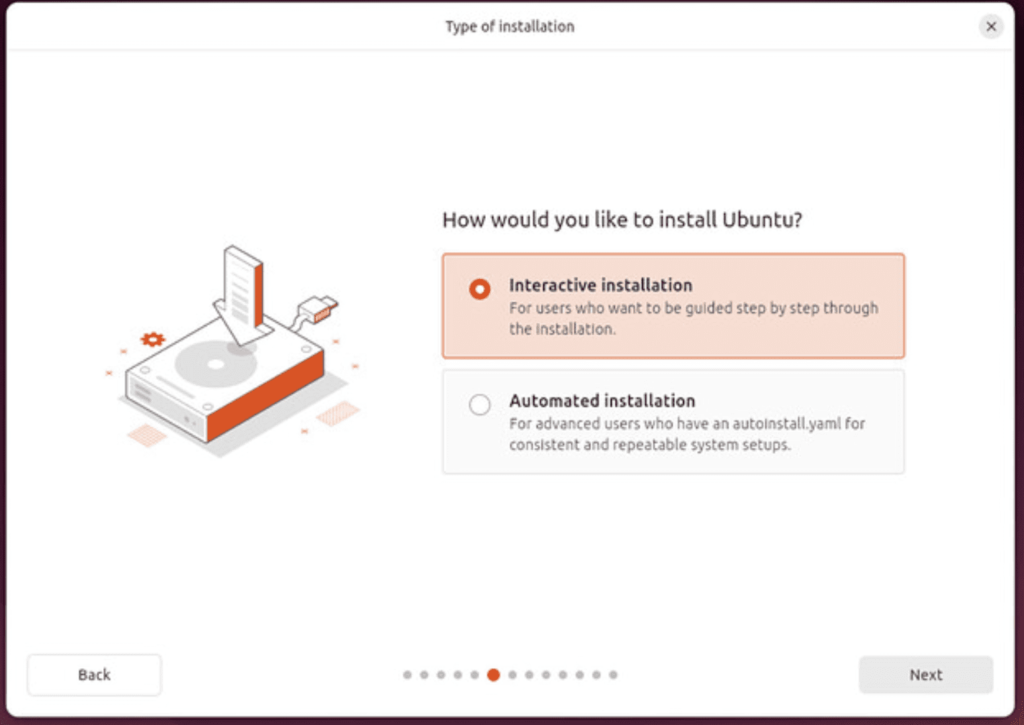
Select Interactive installation.
Select either default or extended installation. I suggest to just take the default installation for now, as additional software can be installed later if needed.
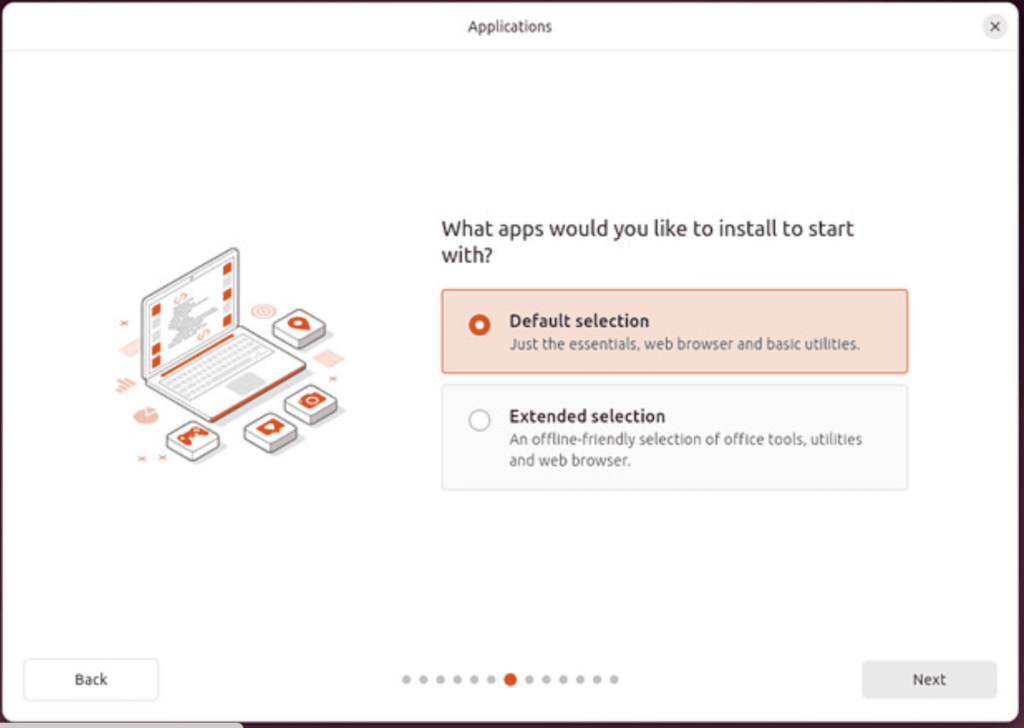
Install the recommended software.
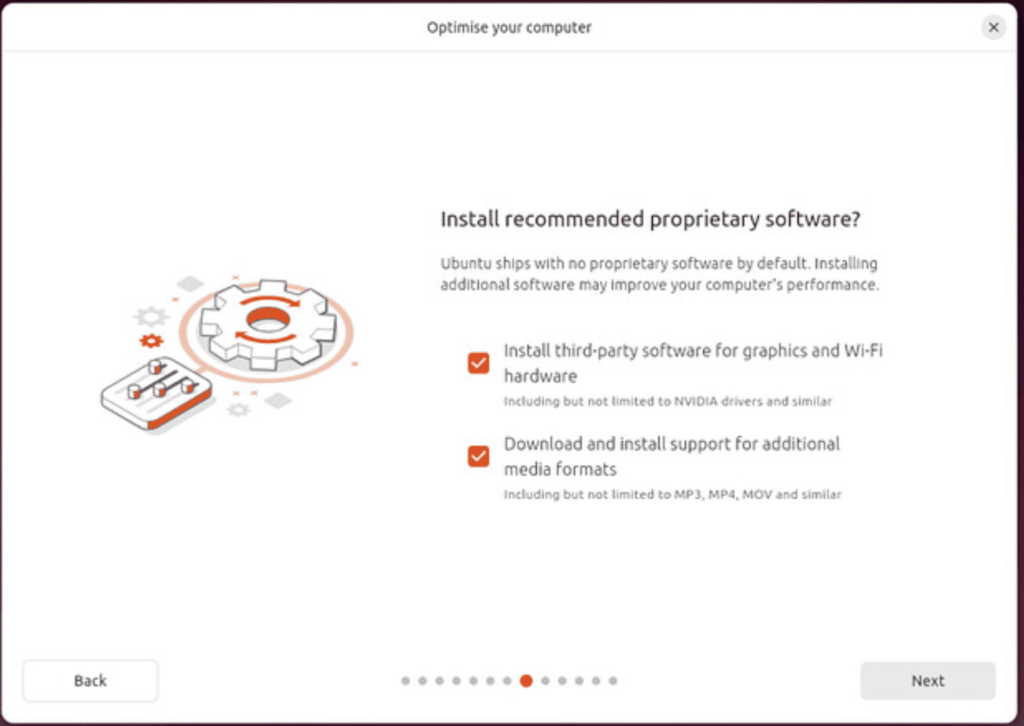
Now you can choose between Erase disk and install Ubuntu and a Manual partition. Erasing the disk will remove windows and install Ubuntu as the only operation system on the computer. Choosing the manual partition, Ubuntu will be installed alongside Windows.
We will choose to erase the disk and install Ubuntu as the only operating system. However, be certain that you have backed up all your data since this action cannot be reversed.
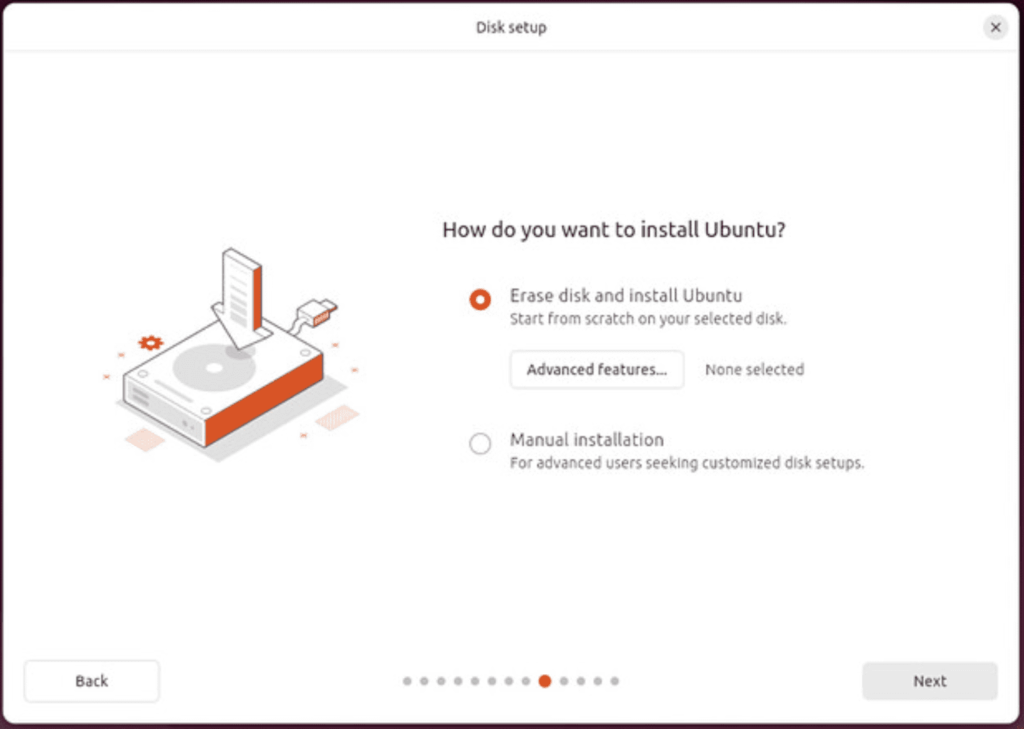
Set up a user account by filling in the blanks.
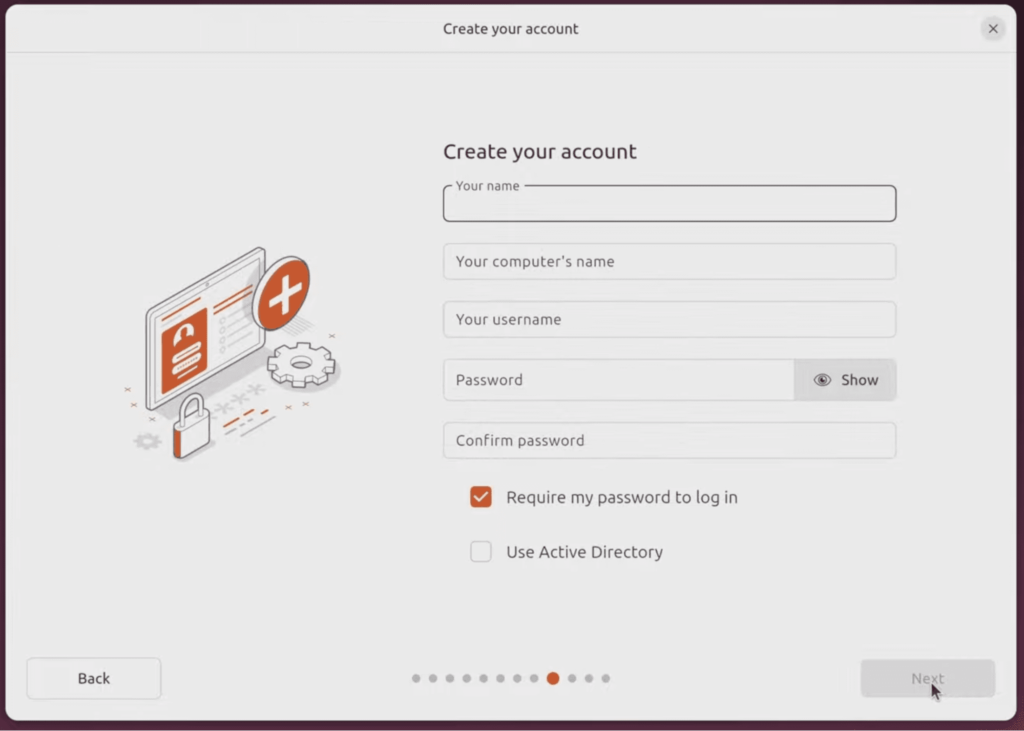
Choose your timezone and location.
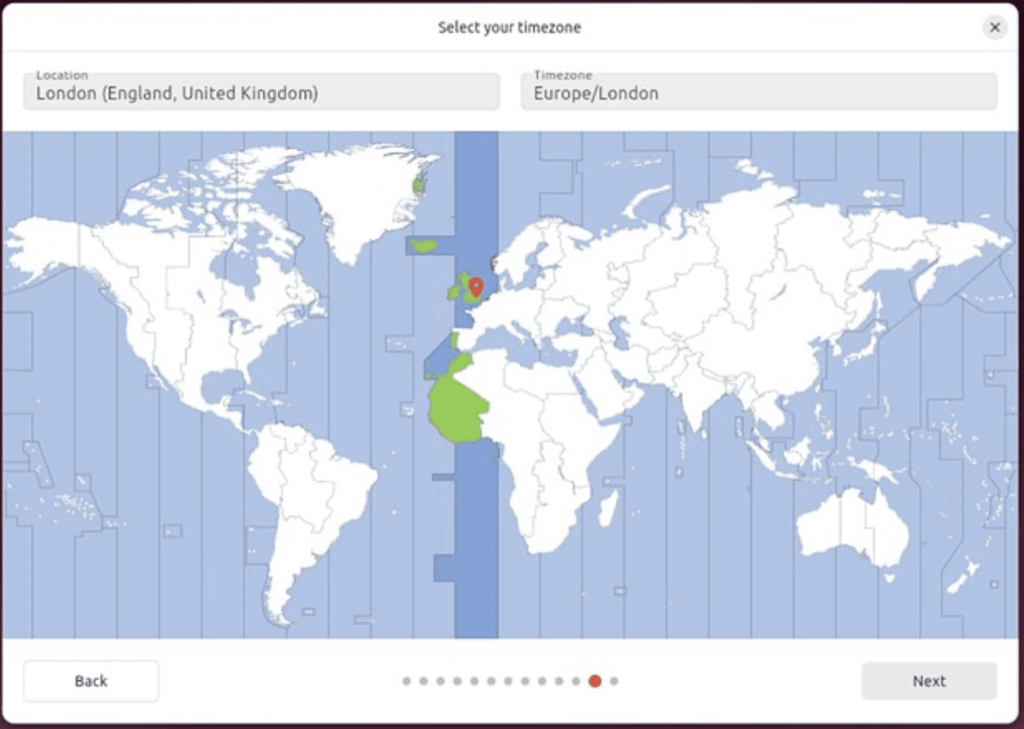
Review your installation settings and click install.
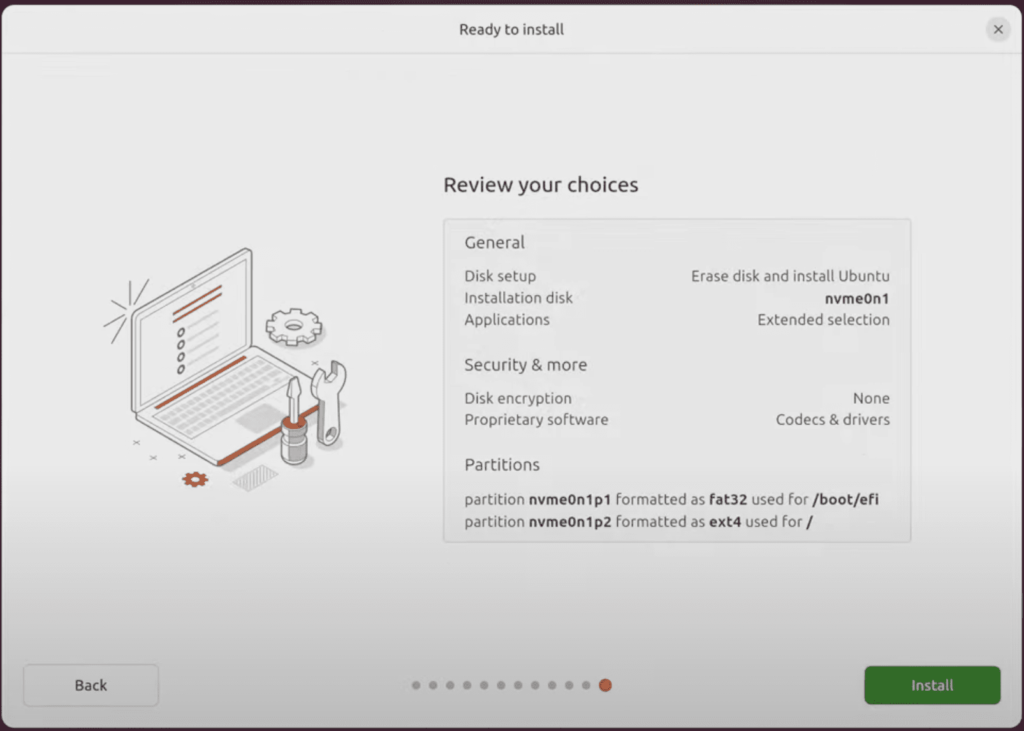
Wait for the installer to complete.

Finally, once the installation is complete, press restart now.
When you restart, you will be prompted to remove your USB flash drive from the device. Once you’ve done this, press ENTER.
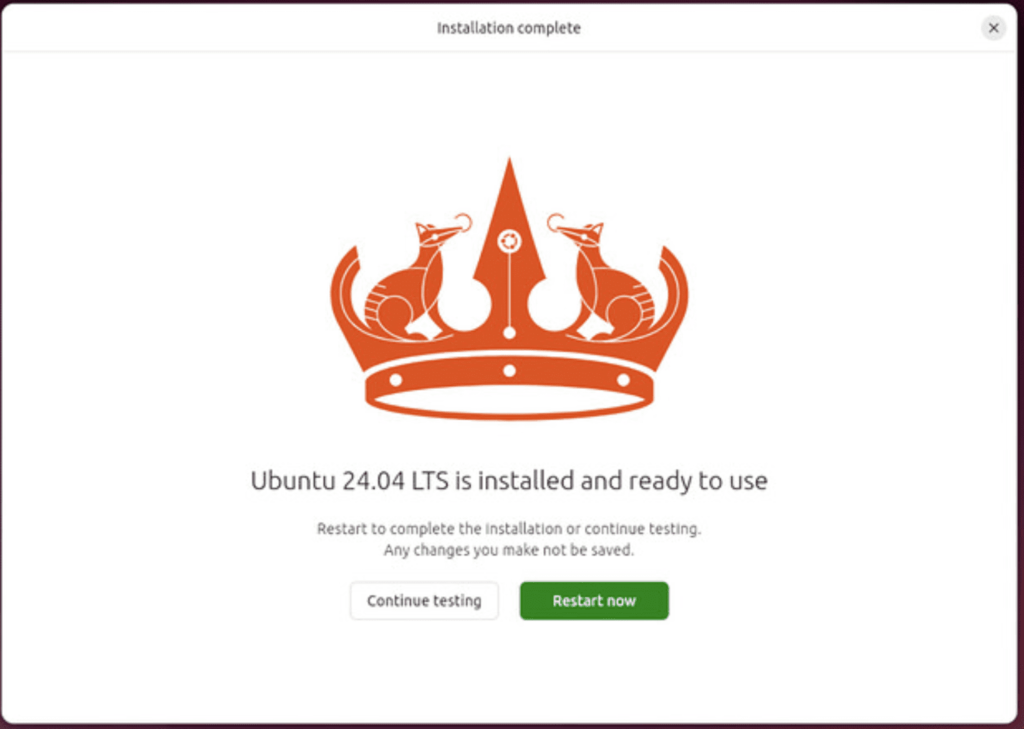
You have now successfully installed Ubuntu on your machine.
Setting up the Lab Environment in Ubuntu
Now it’s time to set up our Ubuntu machine and prepare it for pentesting. This involves the following steps:
- Buying a Domain Name
- Adding DNS Record in Webhosting Portal
- Configure Your Home Router for Port Forwarding
- Installing Apache Webserver
- Installing PHP
- Installing MySQL
- Setup subscribe.php File
- Test our Setup
- Installing SSH
1. Buying a Domain Name
Buying a domain name is really cheap. If you don’t care about the type of top level domain (eg .com or .org) you can find prices that start as low as 1 dollar per year.
Go to hostinger.com, bluehost.com or any web hosting company you prefer and buy a domain name. It is possible to continue without buying a domain name, but I really suggest buying one, as it will make your pentesting setup more authentic.
2. Adding DNS Record in Webhosting Portal
We need to add a DNS record to tell the DNS servers where they can find the server serving our domain. Its a bit different from provider to provider where you can add a DNS record. In hostinger it is found in Domains – Domains portfolio – manage your domain – DNS/Namespaces. Before we add any records, we need to find our public IP.
Find Your Public ipv4
Go to this link to find your public ipv4 https://www.whatismyip.com/
Add a Type A DNS Record
Now, select Type A DNS record. A DNS record indicates the IP address of a given domain. That is why we need to add our public IP address, as this is the public “entrance” to our Ubuntu machine. Leave the “Name” field empty and type in your public ip in the “points to” field. You can leave TTL as it is. If your not on hostinger, you need to find where you can add a DNS record. Typically this is found somewhere in DNS settings.
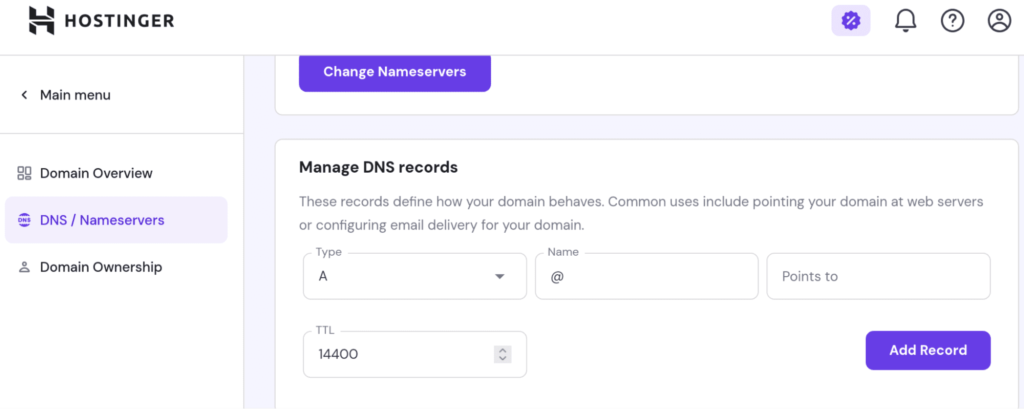
3. Configure Your Home Router for Port Forwarding
Allowing HTTP, HTTPS, SSH traffic and more through your home router, requires configuring port forwarding. This is done in your routers web interface.
Determine the Local IP Address of Your Machine
To find the local IP address of your machine, run this command in the terminal:
$ hostname -I
Access Your Router’s Web Interface
You will need to access your router’s settings through its web interface. This is usually done by typing the router’s IP address into a web browser.
Common Router IP Addresses include:
- 192.168.0.1
- 192.168.1.1
- 10.0.0.1
If you don’t know the IP address of your router, you can find it by:
$ ip route | grep default

Once you have the IP, type it into your web browser (e.g., http://192.168.0.1).
Log in to the Router
Common default credentials are:
Username: admin
Password: admin or password
Otherwise check the back of your router – here the password will most likely be displayed. If you still can’t find it, search online for the default credentials for your router model.
Find the Port Forwarding Section
The location of port forwarding settings varies between router brands, but it’s typically found under Access control -> port forwarding.

Set Up Port Forwarding
You’ll need to configure the port forwarding rule to forward HTTP (port 80), HTTPS (port 443) and SSH (port 22) to the internal IP address of the computer. Leave the External host field empty.
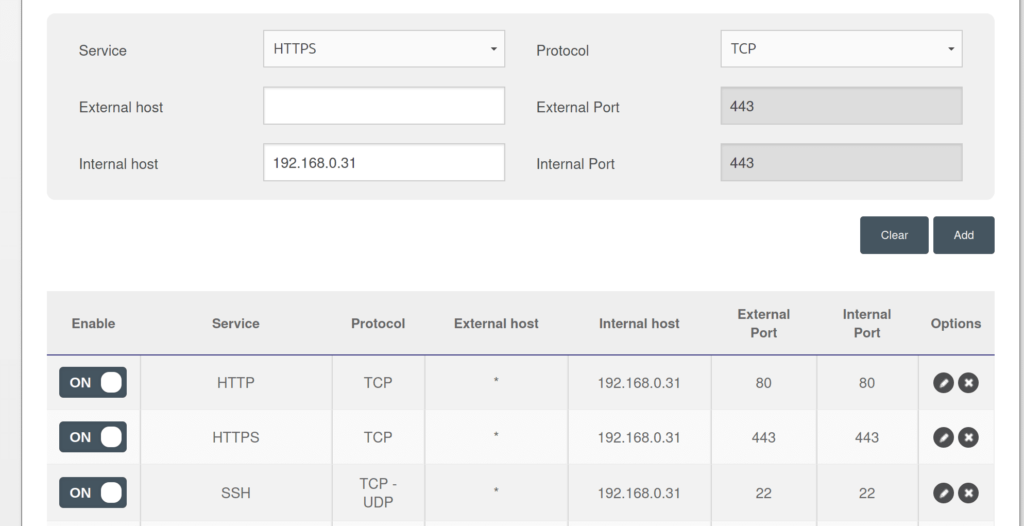
Finally click add and apply.
4. Install and Configure Apache Webserver
Now it’s time to go into our Ubuntu machine. Open a terminal and update and install apache:
$ sudo apt update
$ sudo apt upgrade -y
$ sudo apt install apache2
Start the Apache service:
$ sudo systemctl start apache2
Enable Apache to start at boot:
$ sudo systemctl enable apache2
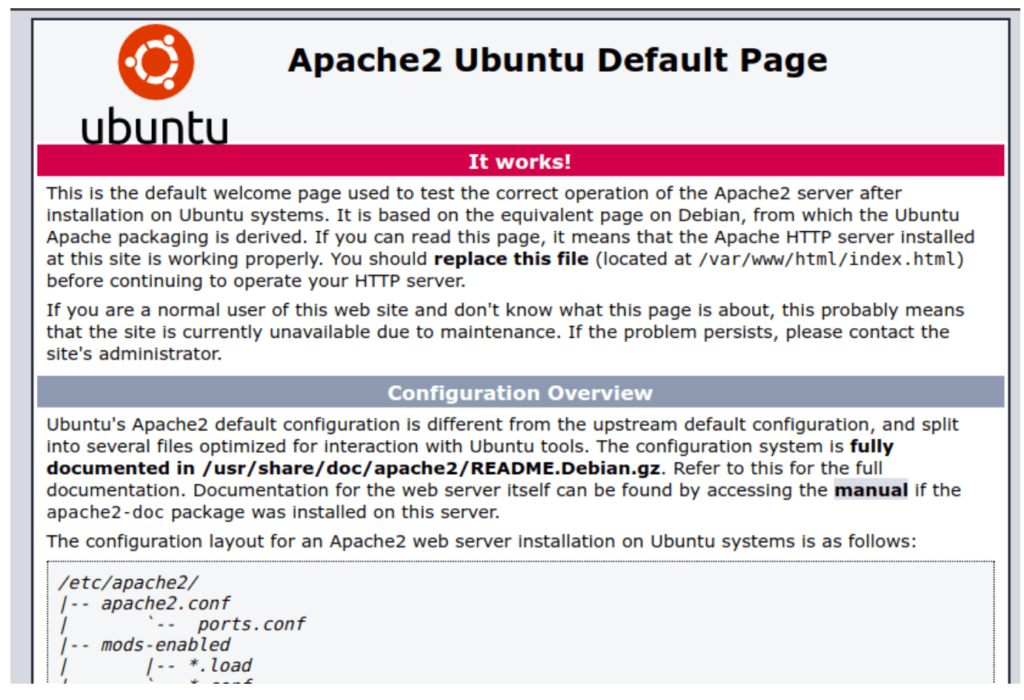
Verify the installation by visiting http://localhost in a web browser. If you see the page below it is installed correctly.
Enable Apache Modules
Enable necessary Apache modules for rewriting URL’s and SSL.
$ sudo a2enmod rewrite
$ sudo a2enmod ssl
$ sudo systemctl restart apache2
Firewall Configuration
We need to make sure our firewall allows http and https traffic. Run the line below.
$ sudo ufw allow 'Apache Full'
$ sudo ufw enable
If you would like to use Iptables instead, the same can be accomplished with the following code:
sudo iptables -A INPUT -p tcp --dport 80 -j ACCEPT
sudo iptables -A INPUT -p tcp --dport 443 -j ACCEPT
Now, in order to make those IP table rules persisent across reboots, you can run the following:
sudo apt install iptables-persistent
sudo netfilter-persistent save
sudo netfilter-persistent reload
Creating a Simple Website
By default, Apache comes with a basic site enabled (the one that we saw in the previous step). We can modify its content in /var/www/html or we can create our own. We are going to create our own directory with our own html code.
Replace example.com with your actual domain name.
$ sudo mkdir /var/www/example.com/
Go to that file location.
$ cd /var/www/example.com/
We will create a simple website that we can use to play around with. It is always possible to upgrade the website later, if you want more pages, images and styling.
$ sudo nano index.html
Paste in the following code, which will create a simple website where a user can input an e-mail.
<!DOCTYPE html>
<html lang="en">
<head>
	<meta charset="UTF-8">
	<meta name="viewport" content="width=device-width, initial-scale=1.0">
	<title>Subscribe to Newsletter</title>
</head>
<body>
	<h2>Subscribe to our Newsletter</h2>
	<form action="subscribe.php" method="post">
    	<label for="email">Email:</label>
    	<input type="email" id="email" name="email" required>
    	<input type="submit" value="Subscribe">
	</form>
</body>
</html>
Try to go to localhost again and see your new website. It should look similar to this.

Setting up Virtual Hosts
Go to this directory and create a new file.
$ cd /etc/apache2/sites-available/
$ sudo touch example.com.conf
Paste the following into that file:
<VirtualHost *:80>
	ServerAdmin admin@example.com
	ServerName example.com
	ServerAlias www.example.com
	DocumentRoot /var/www/example.com
	Redirect permanent / https://example.com/
	ErrorLog ${APACHE_LOG_DIR}/error.log
	CustomLog ${APACHE_LOG_DIR}/access.log combined
</VirtualHost>
Remember to replace example.com with your domain name.
Activating VirtualHost File
We need to enable our virtual hosts file.
$ sudo a2ensite example.com.conf
Reload apache.
$ service apache2 reload
Getting a SSL Certificate to Enable HTTPS
To get your domain to use HTTPS with an Apache web server, you’ll need to set up an SSL/TLS certificate for secure communication between the server and the client. The most common and free method to achieve this is by using Let’s Encrypt to get an SSL certificate.
Install certbot
$ sudo apt update
$ sudo apt install certbot python3-certbot-apache
Once Certbot is installed, get an SSL certificate for your domain:
$ sudo certbot --apache -d example.com -d www.example.com
Certbot will ask you for an email address (for renewal notifications and urgent security notices). You will need to agree to the Let’s Encrypt terms of service.
Certbot will also ask if you want to redirect HTTP traffic to HTTPS automatically. I suggest you choose yes. Certbot will then set up a redirect in Apache to ensure that any traffic to http://example.com is redirected to https://example.com.
Automatic Certificate Renewal: Let’s Encrypt certificates are valid for 90 days, but Certbot automatically configures your system to renew them. You can test the renewal process by running:
$ sudo certbot renew --dry-run
Restart apache
$ sudo systemctl restart apache2
Check the example.com-le-ssl.conf file
We need to check make sure that the file example.com-le-ssl.conf has been configured correct.
Open the file:
$ sudo nano /etc/apache2/sites-available/example.com-le-ssl.conf
Paste in the following (remember to change example.com with your actual site name):
<VirtualHost *:443>
	ServerAdmin admin@example.com
	ServerName example.com
	ServerAlias www.example.com
	DocumentRoot /var/www/example.com
	ErrorLog ${APACHE_LOG_DIR}/error.log
	CustomLog ${APACHE_LOG_DIR}/access.log combined

Include /etc/letsencrypt/options-ssl-apache.conf
SSLCertificateFile /etc/letsencrypt/live/example.com/fullchain.pem
SSLCertificateKeyFile /etc/letsencrypt/live/example.com/privkey.pem
</VirtualHost>
5. Install and Configure PHP
PHP is a popular open-source server-side scripting language designed primarily for web development. It is widely used to create dynamic web pages that can interact with databases, handle forms, and generate content on the fly.
$ sudo apt update
$ sudo apt install php libapache2-mod-php
You can install additional common PHP modules by running:
$ sudo apt install php-cli php-mysql php-curl php-gd php-mbstring php-xml php-zip
Restart Apache
$ sudo systemctl restart apache2
6. Install and Configure MySQL
MySQL is an open-source relational database which we will use to store data from our website.
$ sudo apt update
$ sudo apt install mysql-server
Secure MySQL Installation
After installation, run the security script to configure MySQL securely.
$ sudo mysql_secure_installation
This will prompt you to:
- Set a root password.
- Remove anonymous users.
- Disable remote root logins.
- Remove the test database.
- Reload privilege tables.
For a secure installation, answer yes to most of the prompts.
- Remove anonymous users: Type Y to remove anonymous users.
- Disallow root login remotely: Type Y to prevent root logins from remote machines.
- Remove test database and access to it: Type Y to remove the test database.
- Reload privilege tables now: Type Y to reload privilege tables and apply the changes.
Start and Enable MySQL
$ sudo systemctl start mysql
$ sudo systemctl enable mysql
Log in to MySQL
$ sudo mysql -u root -p
You’ll be prompted to enter the root password you set during mysql_secure_installation.
If you didn’t set a password doing the installation, you can do if now. Use the commands below one at a time:
$ sudo mysql
mysql> USE mysql;
mysql> ALTER USER 'root'@'localhost' mysql> IDENTIFIED WITH mysql_native_password BY 'YourNewPassword';
mysql> FLUSH PRIVILEGES;
mysql> EXIT;
Try logging in to MySQL again using the password you just set:
$ mysql -u root -p
Add a New MySQL User
mysql> CREATE USER 'username'@'hostname’ IDENTIFIED BY 'password';
- ‘username‘: The name of the new user.
- ‘hostname‘: The host from which the user is allowed to connect (use ‘localhost’ for local access, or ‘%’ for access from any host). In this example we will use the % to allow the user to sign in from anywhere.
- ‘password‘: The password for the new user.
Example:
mysql> CREATE USER 'mysqluser'@'%' IDENTIFIED BY 'mypassword';
Grant Privileges to the User
Grant all privileges on all databases to the user.
mysql> GRANT ALL PRIVILEGES ON *.* TO 'mysqluser'@'%';
Flush Privileges
After granting privileges, run the FLUSH PRIVILEGES command to apply the changes immediately.
mysql> FLUSH PRIVILEGES;
Verify the User:
To check that the user was created, you can run the following query:
mysql> SELECT User, Host FROM mysql.user;
MySQL Database Setup
Now we have installed the necessary software, we are almost done with our setup.
We need to set up a database and a table for our website to store subscription for our newsletter. While still being logged in to MySQL, run the following code to create the necessary database and table. If you logged out, just log in again either with you newly created account or the root account.
-- Create the database
CREATE DATABASE newsletter;

-- Use the database
USE newsletter;

-- Create the 'subscribers' table
CREATE TABLE subscribers (
	id INT(6) UNSIGNED AUTO_INCREMENT PRIMARY KEY,
	email VARCHAR(255) NOT NULL,
	reg_date TIMESTAMP DEFAULT CURRENT_TIMESTAMP
);
7. Setup subscribe.php File
The last step of our setup is to configure the subscribers.php file. This script processes the form submission and inserts the email into the MySQL database we just created.
$ cd /var/www/example.com
$ sudo nano subscribe.php
Paste in the following code and edit the username and password to the values that you just created in MySQL.
<?php
// Database connection details
$servername = "localhost";
$username = "root"; // Your MySQL username
$password = ""; // Your MySQL password
$dbname = "newsletter"; // Database name

// Create connection
$conn = new mysqli($servername, $username, $password, $dbname);

// Check connection
if ($conn->connect_error) {
	die("Connection failed: " . $conn->connect_error);
}

// Get the email from the POST request
$email = $_POST['email'];

// Validate email (optional but recommended)
if (!filter_var($email, FILTER_VALIDATE_EMAIL)) {
	echo "Invalid email format";
	exit();
}

// Insert the email into the 'subscribers' table
$sql = "INSERT INTO subscribers (email) VALUES ('$email')";

if ($conn->query($sql) === TRUE) {
	echo "Thank you for subscribing!";
} else {
	echo "Error: " . $sql . "<br>" . $conn->error;
}

// Close connection
$conn->close();
?>
8. Test our Setup
We are now ready to test our penetration lab setup. Open Firefox and go to https://example.com/.
Enter an email address and click Subscribe.
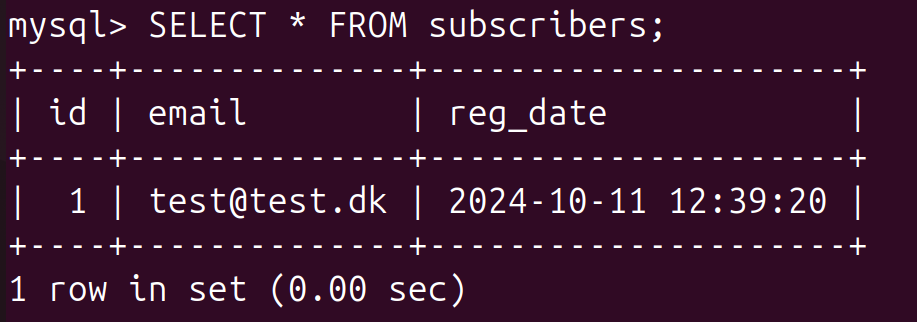
Check the MySQL Database:
After subscribing, check the subscribers table in your MySQL database to see if the email was saved.
mysql> USE newsletter;
mysql> SELECT * FROM subscribers;
If everything works as it should, you should see an output similar to this:
Brilliant, you now have a fully working homelab for practicing your pentesting skills.
9. Installing SSH
I highly suggest that you install SSH on your server also, so you can access it remotely. SSH is another great way to learn pentesting as you can perform a lot of different attacks against SSH.
$ sudo apt update
$ sudo apt install openssh-server
Start and Enable SSH
Once the installation is complete, start the SSH service and ensure it’s enabled to start automatically at boot:
$ sudo systemctl start ssh
$ sudo systemctl enable ssh
Allow SSH Through the Firewall
$ sudo ufw allow ssh
$ sudo ufw reload
Now, you can access your server using SSH.
Testing the SSH Connection
Once SSH is installed and running, you can test the connection from another machine. Open a terminal on a different computer (Linux/macOS) or use an SSH client like PuTTY (for Windows).
Use the following command to connect to your server:
$ ssh username@server-ip
Replace the username with the username on your server and server-ip with the IP address or domain name of your server.
Congratz! You have now successfully set up your very own homelab for penetration testing.
Next Steps
Now its time to start executing some attacks against your webserver, and try out your new homelab. Try to break into MySQL with an SQL injection attack, brute force SSH credentials and gain control over the server.
I suggest installing a free and open source SIEM solution, if you want to try to defend and observe the attacks that your perform from a defenders point of view. You can follow my full step by step guide on how to configure and set up Wazuh.
If you have any questions feel free to leave a comment and I will try to answer them as soon as possible.


